Emergency Roof Repair Tools - Fast Response Storm Damage Solutions
One surprise hailstorm rolling off Lake Lanier or a wind gust tearing down I-985 is all it takes for water to find its way in. When it does, time is your most valuable tool. Having the right emergency roof repair tools on hand can prevent thousands in damage. From peel-and-stick patches that work in rain to heavy-duty tarps that protect until permanent repairs, these products help you take control fast when storms strike Buford.

🩹 Instant Patch Tapes & Sealants
When you discover a leak during a storm, instant patch products provide immediate protection. These tapes and sealants bond to wet surfaces, stopping water intrusion within minutes. Keep them accessible for fast response when storms strike unexpectedly.
| Picture | Product | Type | Key Features | Shop |
|---|---|---|---|---|
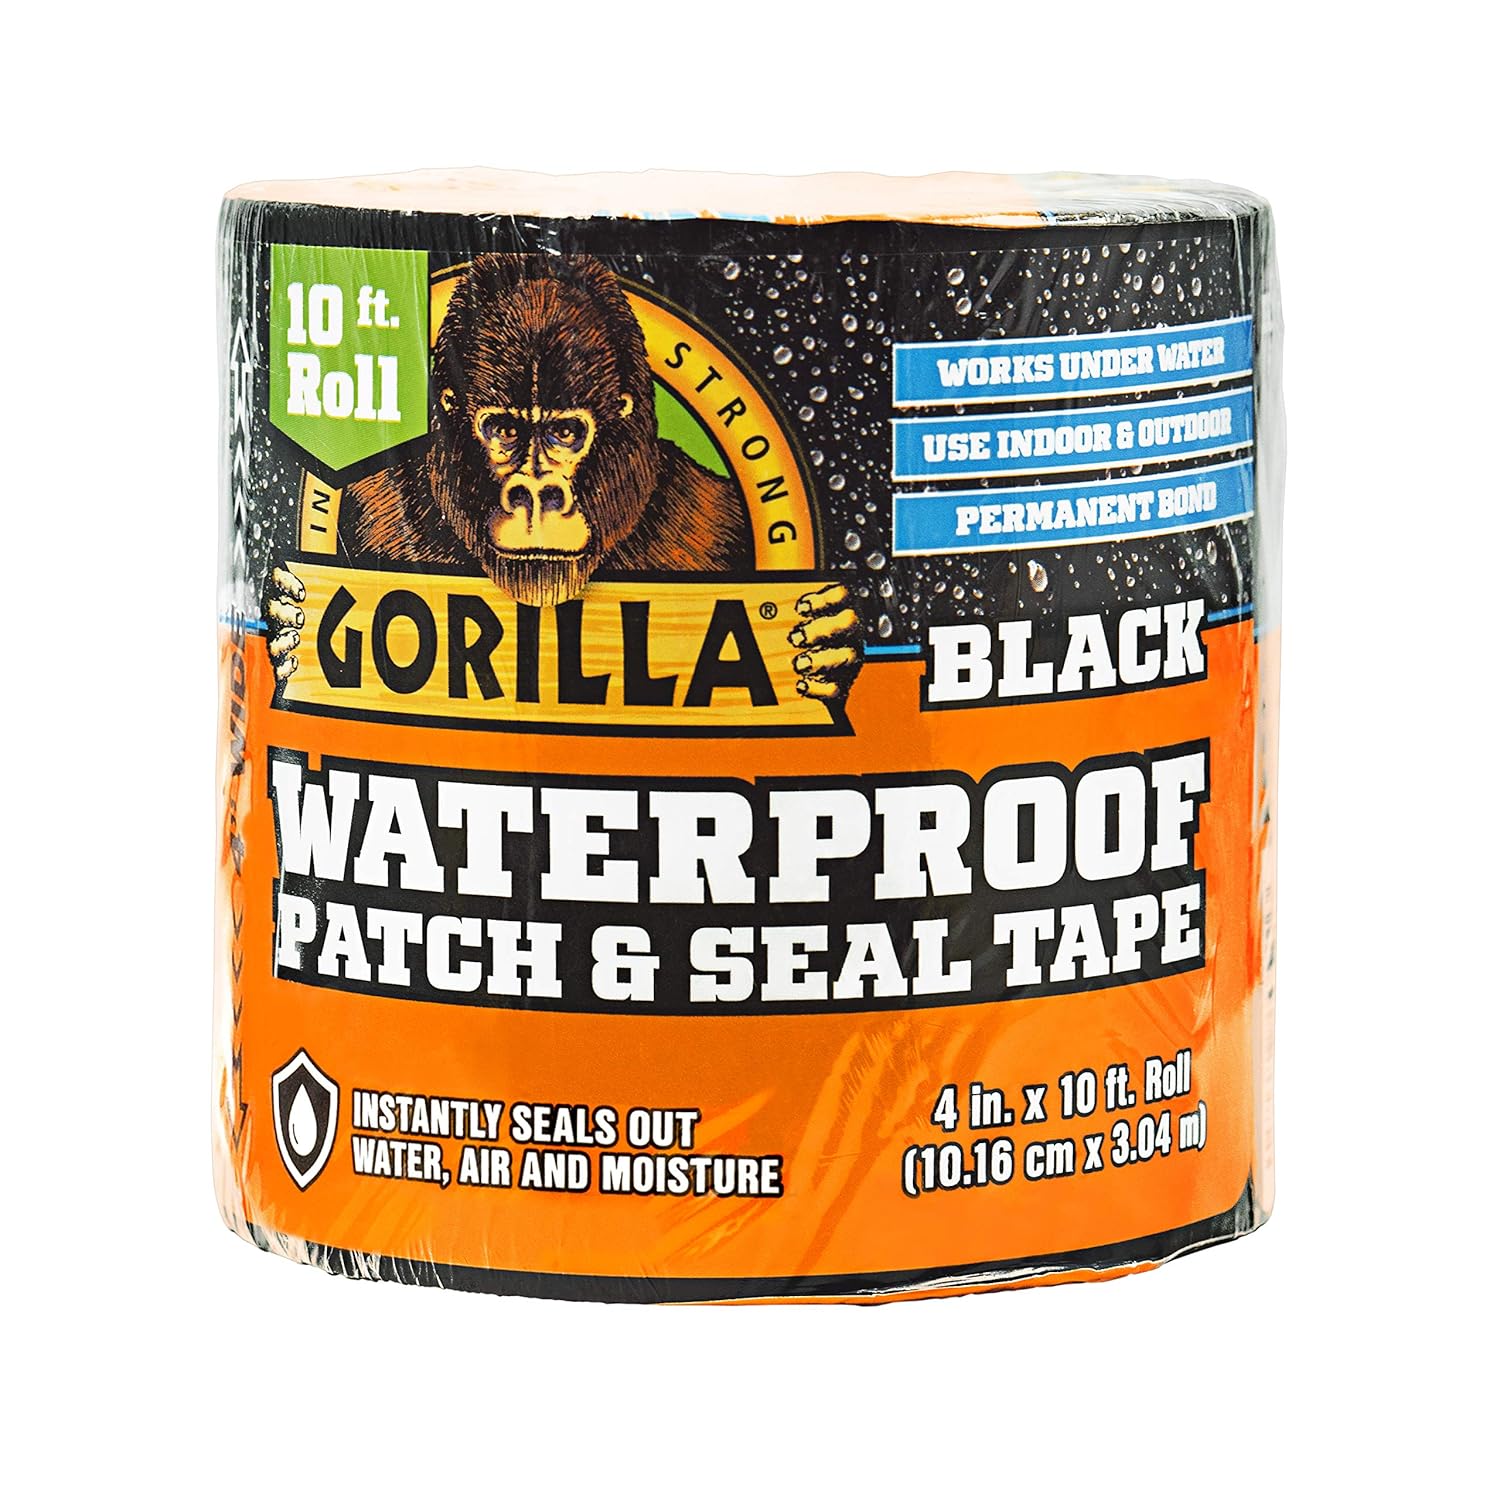 |
Flex Seal Patch Tape | Rubberized tape | Works in rain, Instant seal, 8"x25' roll | Buy on Amazon |
 |
Through the Roof Sealant | Caulk | Clear, Bonds wet surfaces, Permanent | Buy on Amazon |
 |
Aluminum Flashing Tape | Metal-backed | Conforms to shapes, UV resistant, Heavy duty | Buy on Amazon |
💡 Pro Tip: Apply patch tape by pressing firmly from center outward to eliminate air bubbles. Extend tape at least 2 inches beyond damaged area on all sides.
Browse All: Roof Patch Tape on Amazon
🏕️ Emergency Tarps & Covers
When damage is too extensive for patching, tarps provide temporary protection for large areas. Heavy-duty tarps withstand wind and UV while you wait for permanent repairs. Proper installation prevents further damage and satisfies most insurance requirements for mitigation.
| Picture | Product | Type | Key Features | Shop |
|---|---|---|---|---|
 |
Heavy-Duty UV Roof Tarp | Cover | Waterproof, Grommets, 10x20ft | Buy on Amazon |
 |
Tarp Anchor Strips | Fastening | 1x3 lumber, Pre-cut lengths | Buy on Amazon |
 |
Plastic Cap Nails | Fasteners | Large heads, Won't tear tarp, 100+ count | Buy on Amazon |
💡 Pro Tip: Extend tarps over the ridge and secure on both sides. Use 1x3 wood strips along edges to distribute load and prevent tearing at grommet points.
Browse All: Emergency Tarps on Amazon
🔨 Fast-Repair Hardware
Storm damage often involves loose or missing shingles, popped nails, and displaced flashing. Having fasteners and basic tools ready enables quick temporary repairs that prevent ongoing damage. These items complement patch materials for comprehensive emergency response.
| Picture | Product | Type | Key Features | Shop |
|---|---|---|---|---|
 |
Galvanized Roofing Nails | Fasteners | 1-1/4", Hand-drive, 1lb box | Buy on Amazon |
 |
Roofing Hammer with Gauge | Tool | Magnetic head, Exposure gauge, Hatchet blade | Buy on Amazon |
 |
Flat Pry Bar | Tool | Lifts shingles, Removes nails, 12" length | Buy on Amazon |
Browse All: Roofing Hardware on Amazon
🔦 Emergency Lighting & Safety
Storm damage doesn't wait for convenient hours. Headlamps, work lights, and safety equipment enable safe emergency work in low-light conditions. Fall protection remains essential even during urgent repairs. Proper lighting also helps document damage for insurance claims.
| Picture | Product | Type | Key Features | Shop |
|---|---|---|---|---|
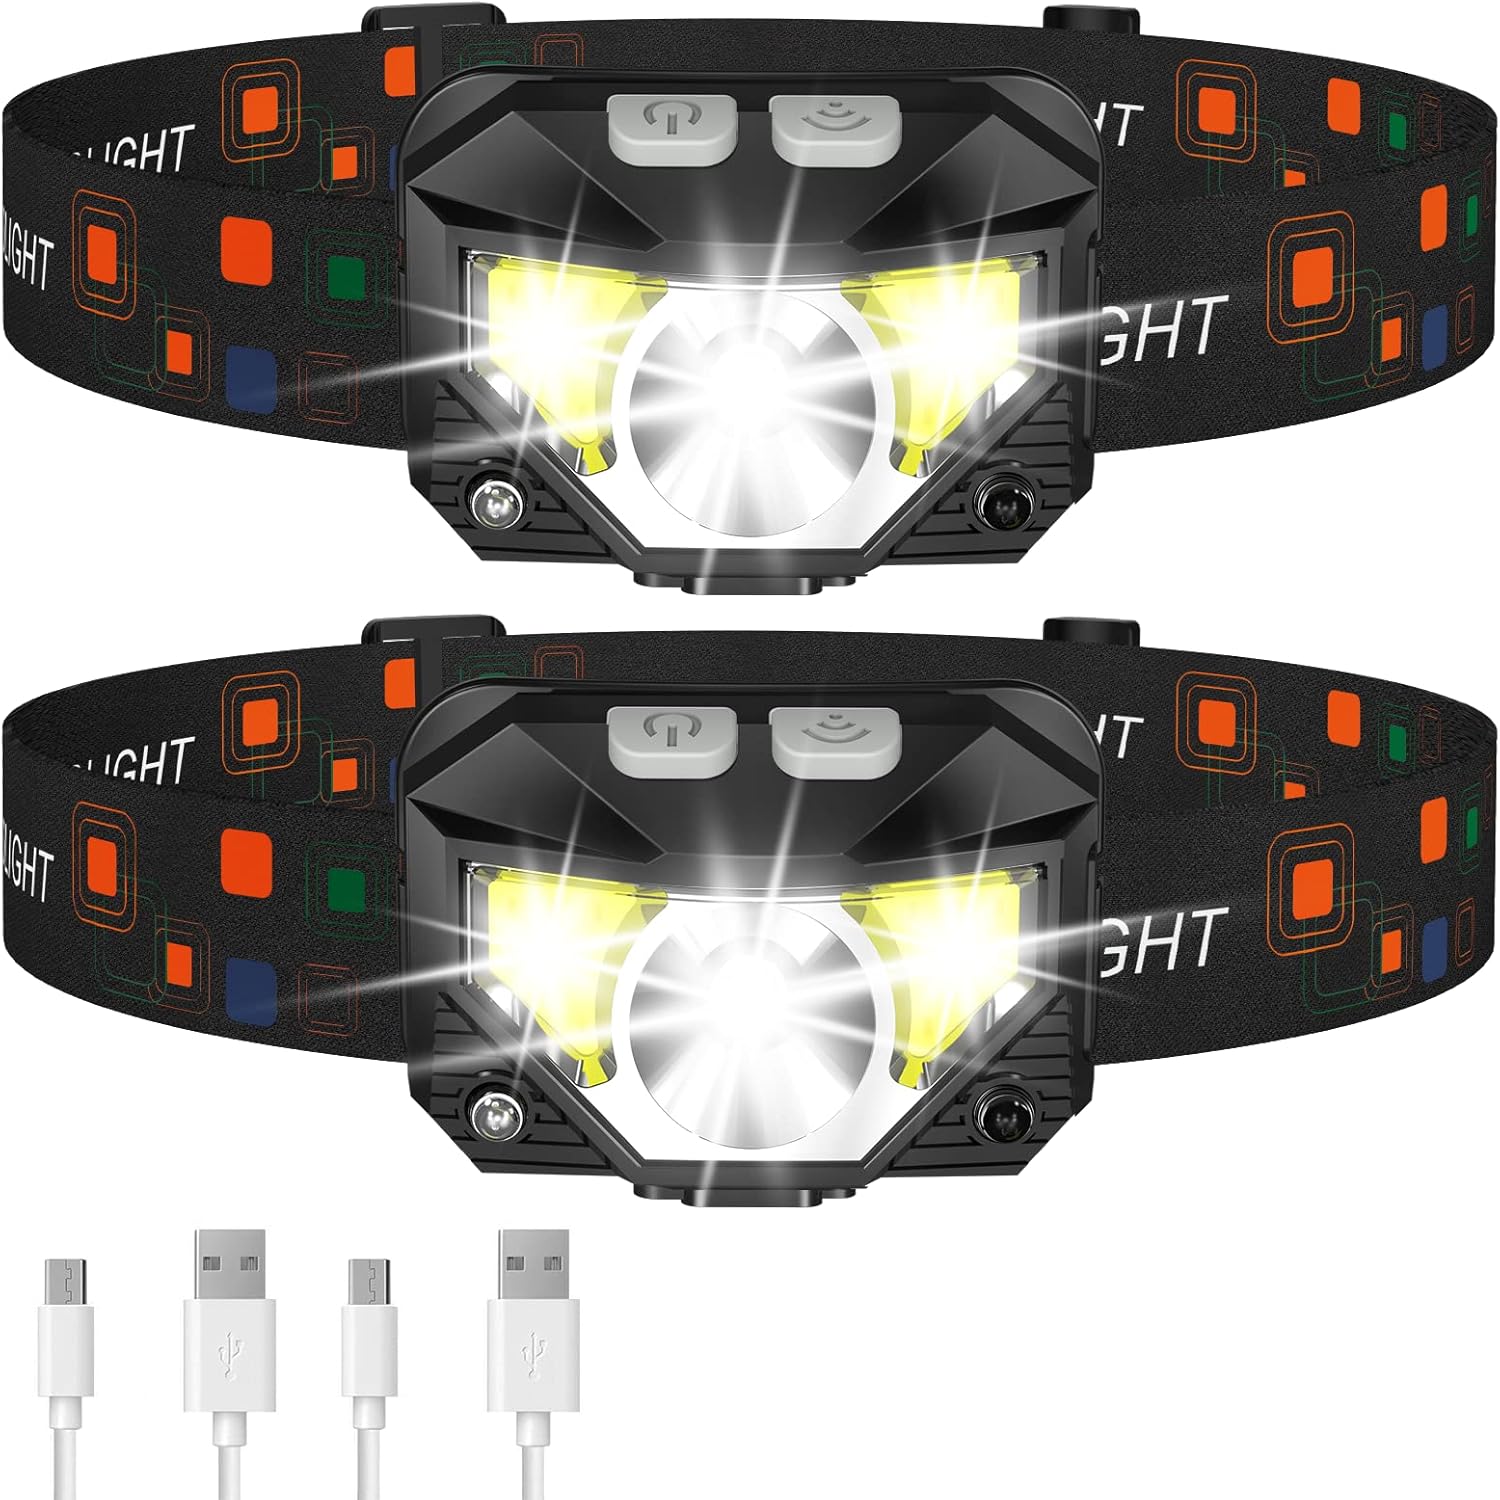 |
Rechargeable LED Headlamp | Lighting | 1000+ lumens, Waterproof, Hands-free | Buy on Amazon |
 |
Portable LED Work Light | Area light | Magnetic base, Rechargeable, Weather resistant | Buy on Amazon |
 |
Roofing Safety Harness Kit | Protection | Harness, lanyard, anchor, OSHA compliant | Buy on Amazon |
💡 Pro Tip: Never work on a wet roof during active storms or lightning. Wait for precipitation to stop, then work quickly with proper safety equipment before the next wave arrives.
Browse All: Emergency Safety Equipment on Amazon
📦 Pre-Assembled Emergency Kits
Complete emergency kits provide everything needed for quick response in one package. Having a pre-assembled kit stored in an accessible location means you're ready when storms strike. Kits save time versus gathering individual items during an emergency.
| Picture | Product | Type | Key Features | Shop |
|---|---|---|---|---|
 |
Emergency Roof Repair Kit | Complete | Tape, sealant, patches, tools | Buy on Amazon |
 |
Waterproof Storage Box | Storage | Keeps supplies dry, Portable, Organized | Buy on Amazon |
 |
Outdoor First Aid Kit | Safety | Bandages, antiseptic, wound care | Buy on Amazon |
💡 Pro Tip: Check your emergency kit annually - replace expired sealants, ensure batteries are charged, and verify tarp hasn't developed mildew. Storm season in Buford and North Georgia peaks spring through fall.
Browse All: Emergency Kits on Amazon
❓ Frequently Asked Questions - Emergency Roof Repair
Be Prepared for the Next Storm
Don't wait for the roofer - gear up with emergency roof repair tools to handle storm damage immediately and protect your home.